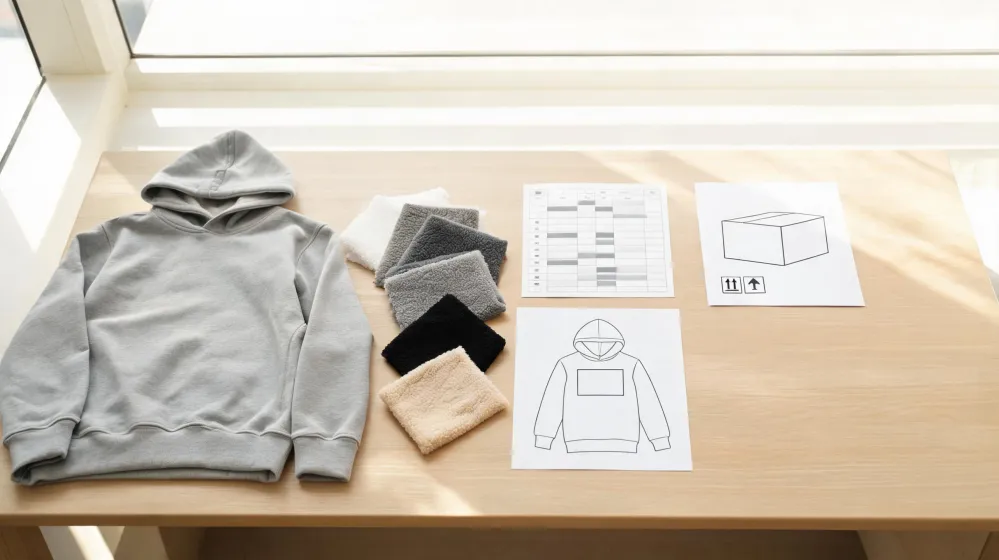
The limit that decides your logo size at approval is not printed on the garment. A decoration guide puts the ceiling in two places: a file can be resized only when its resolution allows it, and it can never exceed the print area of each product. That changes what you are signing. The number you need is a print area a supplier must give you in writing, for a named blank, before your artwork means anything.
A signed front placement says nothing about the back, the sleeves or the neck label. Each zone has its own area, its own method and its own file check. Four zones, four approvals. Or, in the version many sourcing teams run: one line signed at the sample table, three zones discovered after the cutter has gone through the fabric.
Four Zones, Four Separate Approvals
A hoodie's zone list comes from the product, not from your artwork. A manufacturer's customization page for hoodies names the front, the back, the sleeves and even the labels as areas you can personalize. Treat that as the map of what exists to ask about. It is not a claim about what a particular factory can execute on a particular blank.
Build the sheet on that basis: one row per zone, with the blank name and decoration method on the same row. A row reading front, approved, on an unnamed blank cannot be acted on by production, because front of what, decorated how, is missing. A single line reading logo placement approved is worse, since it hides which of the four zones anyone inspected.
Suppose a buyer runs one row, the sample comes back with a clean chest print, and everyone signs. The back was never discussed. The sleeves were never discussed. The neck label was never discussed, and the label is the piece a customer reads at the collar every time the hood goes up. Nothing on that sheet was wrong. It was too short to cover the garment.
The Print Area Sets the Size Ceiling
Logo size gets capped twice, and both caps belong on the sheet. Resolution is one: a file may be resized when its resolution allows, which means a low-resolution file may not support enlargement to full back width just because the back has room. The second cap is the print area of that specific product. Together they set the largest artwork that combination can carry.
Both caps move with the blank and the method, so an artwork sized at one width on one hoodie body says nothing about the next body on your shortlist. Every row holds the print area your candidate supplier states for that specific blank, in the dimensions they quote, and the cell stays empty until they state it. An empty cell is a live question. A cell filled in by your own guess is a future rework order.
If a supplier cannot give you a print area in writing for the blank you asked about, go with the blank whose decorator can, and treat the missing figure as a no rather than a maybe. You pay with a shorter shortlist and a slower approval loop, and you buy a size decision that survives production.
File Setup Is Your Risk, Not the Decorator's
One duty does not transfer with the purchase order. Only you can ensure that your design files are set up correctly, in the right size and position. That is a platform guideline quoted at its own scope, and it reads as an allocation of responsibility rather than friendly advice. Practically, the sheet carries a buyer sign-off line for size and position, kept separate from the supplier's line for the blank and the area.
A reply like prepress will fix it does not move that duty, and neither does a cheerful yes to your question about whether the file is fine. Keep the two signatures apart on purpose. The supplier confirms what the blank and the method allow; your side confirms that the file sitting on the press matches the size and position you approved. Where liability starts and stops is a contract question, and each candidate's terms still need their own review.
A practical way to keep that split visible is to put the file check on its own row, not in a footnote. Whoever signs that row should be able to point to the file name, the version and the placed size on the sample. If two people share the duty, name the one who signs. Shared responsibility at approval turns into shared surprise at production.
Build the Approval Sheet in This Order
Run the zones in one fixed order: labels, then front, then back, then sleeves. The sequence is not about importance, it is about reversibility and forgettability. A label sits on the finished garment, so a mistake there is harder to correct late in the run. Labels are also the zone most often left off the enquiry, which is why they go first on the sheet instead of last.
Each row carries six things that must line up: zone, blank, method, stated print area, file check, sign-off. That structure does its work before the sample arrives, because a missing column is visible on the page rather than discovered in the bulk run. It also forces the conversation onto method per zone, which is where most of the real variation sits.
If a zone still has no stated print area, leave that row unsigned; the trade-off is a slower sign-off for a sheet that can actually stop a bad cut. If you can only chase two zones this week, chase labels and sleeves first; the trade-off is a later front approval for a label that is hard to fix once the garment is built.
Shortlist Blanks and Methods Before Suppliers
Before any supplier is compared, fix the candidates. Three blank sources are worth putting on the shortlist: a cut-and-sew factory that builds the body and decorates in house, a contract decorator running blanks you supply, and a print-on-demand style service holding stock and decorating per order. They answer zone questions differently. A cut-and-sew factory may be able to adjust construction; a contract decorator works within the blank you ship; a stocked service works within its catalogue.
Then fix the method candidates per zone. Methods such as screen print, embroidery, heat transfer or direct-to-garment, and woven or printed labels, do not share one area budget, and they do not handle labels the same way. The sheet records method zone by zone. The shortlist follows from that record. You shortlist per method, not per supplier overall, because a supplier who is strong on chest prints can be a complete unknown on a woven label.
If the label is the piece your design depends on, go with the supplier who confirms label decoration first and skip the ones whose sample answers only cover the chest. Fewer candidates, one placement you can actually verify. Many teams run it the other way round, chasing the most visible print and hoping the collar works out.
Three Placement-Sheet Habits to Reject
A sheet worth keeping is easy to describe. It names the blank, the method and the stated print area on every zone row, and it carries a buyer signature for file size and position. Anything missing one of those is a conversation, not an approval. None of this touches price, minimums, capacity or certification, and none of those are established here; they stay open questions for each candidate you contact.
Reject the sheet that copies a reference platform's zone list and presents it as a factory's capability. Reject the one that approves a logo with no print area stated anywhere, since that is a size promise with nothing behind it. Reject the file check that consists entirely of a supplier's verbal reassurance, because the setup duty never left your desk. All three look complete and answer nothing.
If a candidate sends the same zone list for every blank in their range, treat it as unverified and skip them for this order. You give up a fast quote and keep a claim you can still test at sample stage, instead of one you have to trust. Identical answers across different bodies are the cheapest signal you will get that nobody looked at your garment.
The test is not whether the sheet looks official. The test is whether a production manager who was not in the approval meeting can read a row and know what to make. If the row needs a call to be understood, it is not finished.
Sign the Placement Sheet With the Sample
Sign the placement sheet on the physical sample round, not after bulk confirmation. Go zone by zone on the sample in front of you, and record which rows stayed unsigned and why. That record tells you whether a second round is needed or whether the blank should change.
Three go or no-go checks ride on that signature. The zone exists on this blank as decorated, not on a similar one. The print area for this blank and this method is stated in writing. The file's size and position are confirmed by your side, by the person who will answer for it.
If the sample arrives showing only the front zone, go with a second sample round for labels and sleeves rather than signing the whole sheet. You spend one more cycle and avoid approving zones nobody has seen on a garment that is about to be cut in quantity.
Some rows stay open by design. No quote, no minimum, no lead-time commitment, no capacity audit and no test report exists in this material, so those live as questions to put to each candidate rather than figures to write down. What the four-zone sheet gives you is a placement approval that holds against a named blank and a named method. What it costs you is speed: a longer loop before the first cut. What you keep is a sheet that can still be corrected while the garment is a sample, not a shipment.
